How to fix EPDM roof leak
What do do if your EPDM roof is leaking...
EPDM (ethylene propylene diene monomer) is a common roofing material used in commercial and residential buildings. It is known for its durability and flexibility, but even the best roofing material can develop leaks over time. Fortunately, repairing an EPDM roof leak is a relatively simple process that can be done with a few basic tools and materials. Here are the steps to fix an EPDM roof leak:
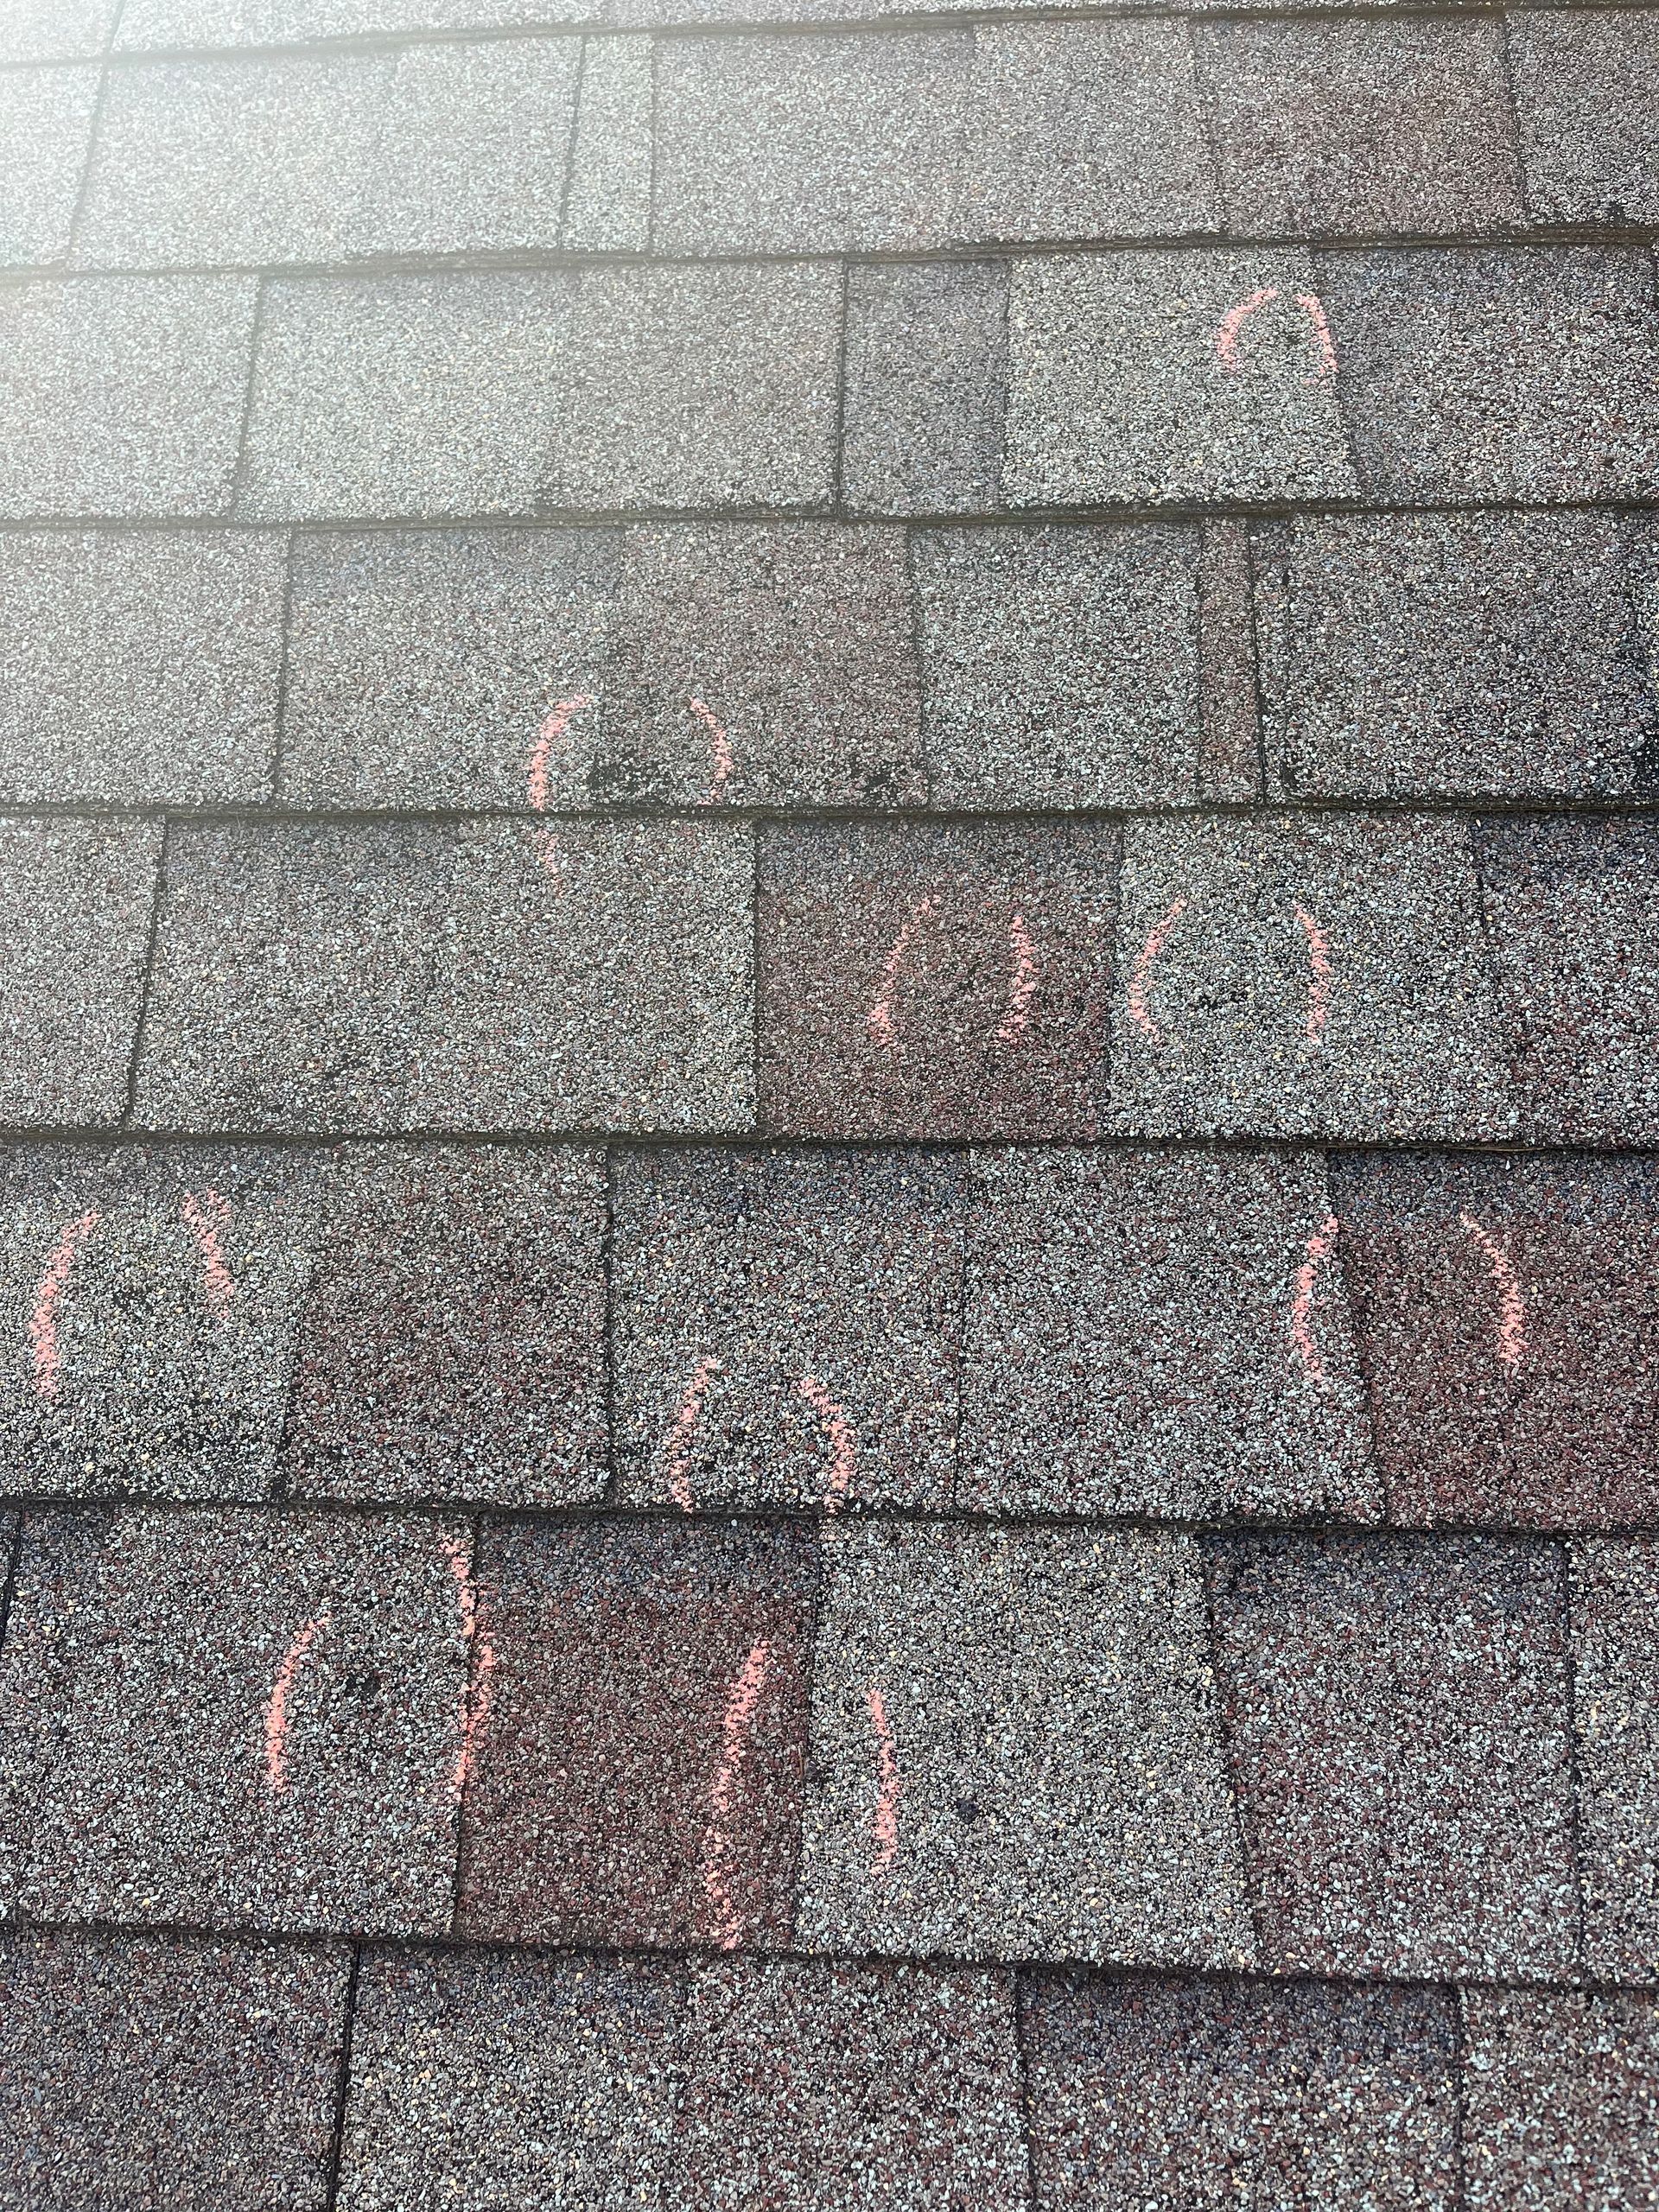
Step 1: Locate the Leak
The first step in fixing an EPDM roof leak is to locate the source of the leak. Check the roof surface for any obvious signs of damage, such as punctures or tears. If the damage is not obvious, look for water stains or damp spots on the ceiling inside the building. Once you have located the source of the leak, mark the area with a piece of chalk or a marker so you can easily find it later.
Step 2: Clean the Area
Before you can repair the leak, you need to clean the area around it. Use a broom or a brush to remove any debris or dirt from the surface of the roof. Then use a cleaner specifically designed for EPDM roofing, such as a mild soap and water solution or a specially formulated EPDM cleaner, to remove any remaining dirt or grime. Rinse the area thoroughly with water and allow it to dry completely.
Step 3: Apply EPDM Primer
EPDM primer helps to improve the adhesion of the repair material to the roof surface. Apply a thin layer of primer to the area around the leak, using a brush or a roller. Be sure to follow the manufacturer's instructions for the primer, as application methods and drying times can vary
Step 4: Apply EPDM Patch
EPDM patches are available in a variety of sizes and shapes to fit your specific repair needs. Cut a patch that is slightly larger than the area you need to repair. Peel off the backing from the patch and carefully apply it to the primed area, pressing down firmly to ensure good adhesion. Smooth out any bubbles or wrinkles in the patch, using a roller or a flat tool.
Step 5: Seal the Edges
To prevent water from seeping under the edges of the patch, apply a bead of EPDM seam sealer around the perimeter of the patch. Smooth out the sealer with a putty knife or a roller to ensure a tight seal.
Step 6: Allow the Repair to Dry
Allow the repair to dry completely before exposing it to water or other elements. This can take several hours, depending on the temperature and humidity in your area. Avoid walking on the repaired area until it is completely dry.
In conclusion, fixing an EPDM roof leak is a relatively easy process that can be done with a few basic tools and materials. By following these steps, you can repair the leak and ensure the long-term durability and performance of your EPDM roof.